Quickstart
This walkthrough gets a new user from sign-in to a working runtime. Use it for the first internal UAT pass, a design-partner walkthrough, or a new teammate joining an existing tenant.
Before You Start
You need:
- an AI Cloud account;
- tenant access;
- project access;
- a runtime your tenant is allowed to launch;
- enough quota, entitlement, or balance for the selected runtime;
- an SSH public key if the runtime uses SSH.
If one of those is missing, stop and ask your tenant admin to fix access before launching work.
1. Sign In And Check Context
After sign-in, check the top bar before doing anything else.
| Field | What to verify |
|---|---|
| Mode | User or Tenant mode, depending on the task. |
| Tenant | The workspace you expect. |
| Project | The project where usage should be charged and access scoped. |
| Region | The intended region for the runtime. |
| Balance or quota | Enough headroom for the walkthrough. |
If the tenant or project is wrong, switch context or ask an admin to grant the right membership.
2. Prepare Account Access
Open Account > Security and confirm MFA, SSH keys, API keys, and sessions.
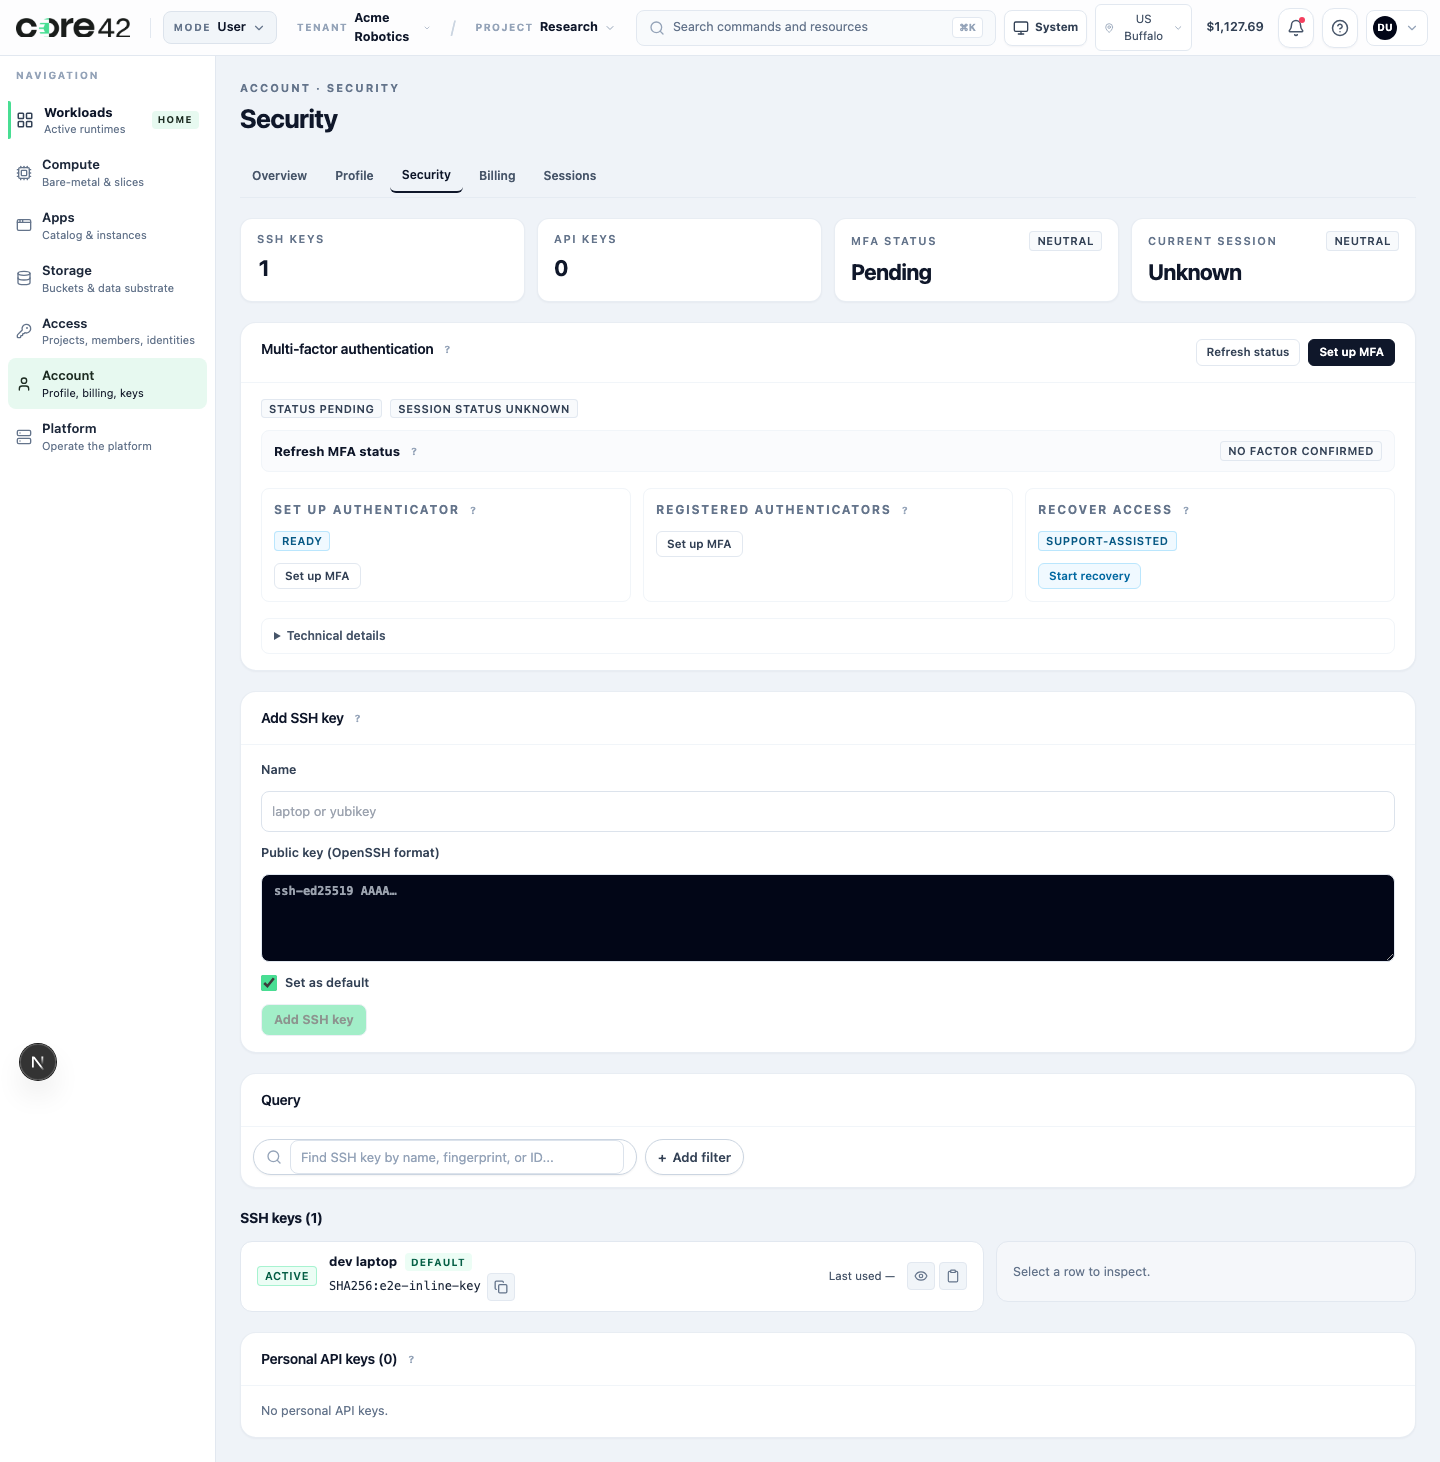
For a first walkthrough:
- Complete required MFA if the page asks for it.
- Add an SSH key if the runtime needs SSH.
- Remove stale sessions if you are testing account recovery.
- Do not create API keys unless automation is part of the walkthrough.
3. Launch A Runtime
Open Compute or Apps, choose the runtime, and review the launch form.
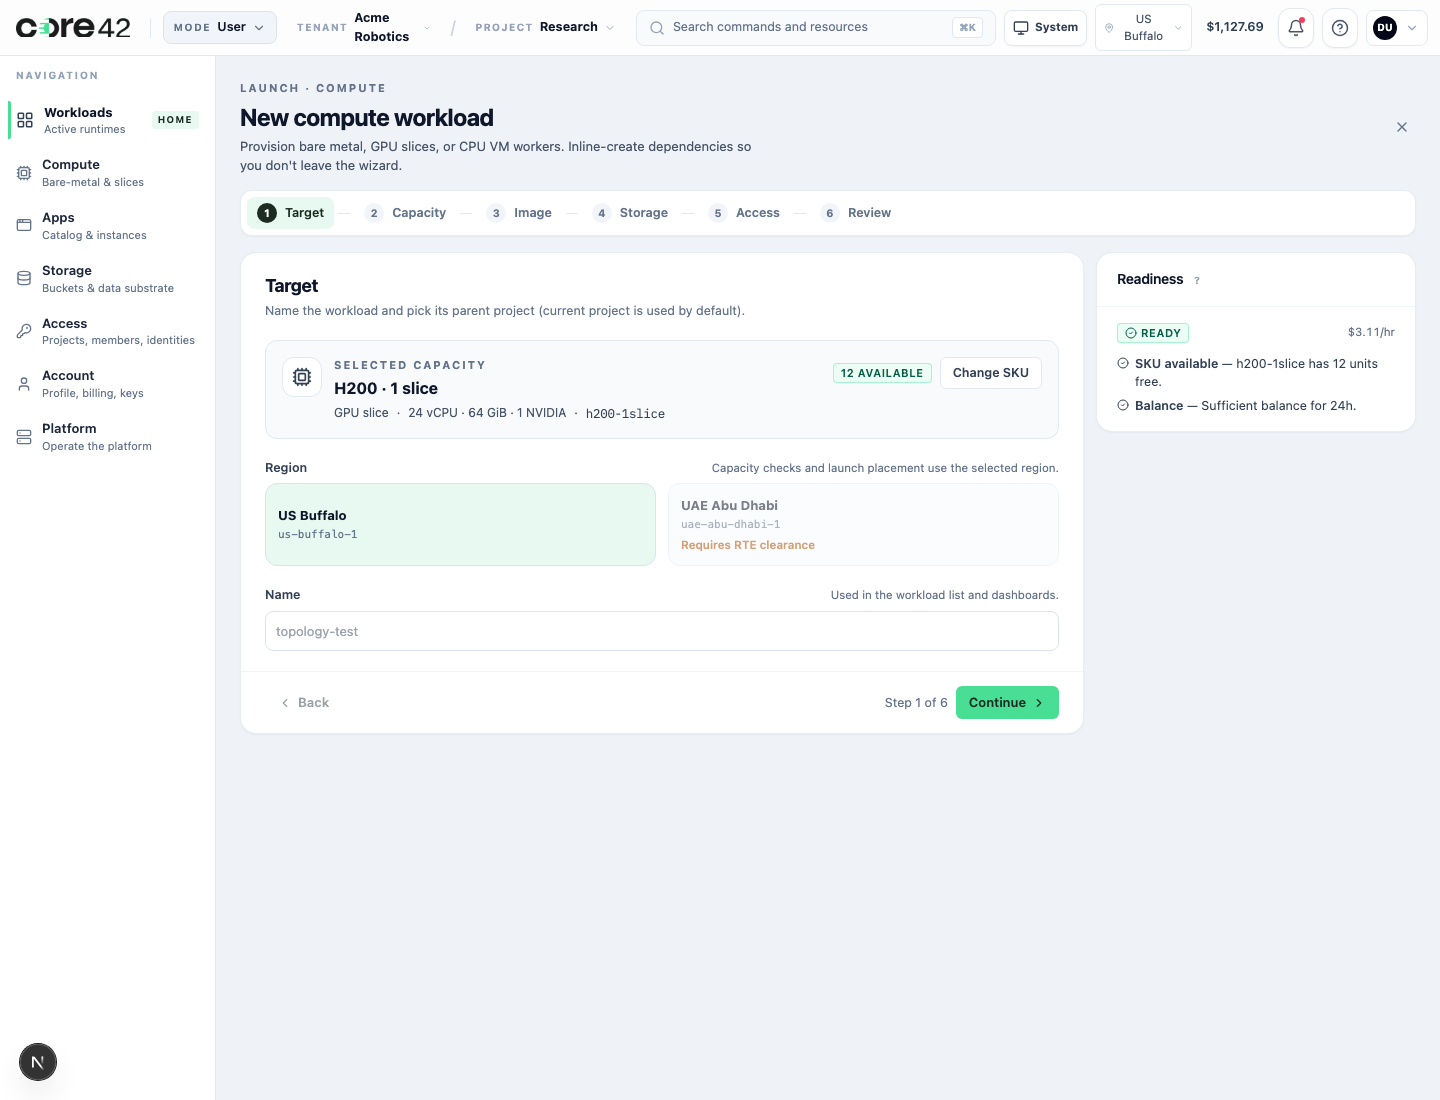
Before submitting:
- confirm project context;
- confirm SKU, region, image, and resource size;
- confirm the estimated hourly burn;
- confirm the required SSH key, storage mount, or app input;
- submit only once unless the UI says retry is safe.
4. Wait For Active State
Open Workloads after launch. The runtime should move through provisioning to active. An active runtime should show the supported connect actions for its family.
| Runtime family | Expected connect action |
|---|---|
| Compute | SSH, browser terminal, metrics, workload detail. |
| Notebook or IDE | Browser route, terminal, workspace. |
| Scheduler | Scheduler route, job submission surface, terminal or CLI. |
| Inference endpoint | API endpoint route and model health check. |
| Compose app | Application route, declared ports, health, logs. |
If the runtime reaches a blocked state, capture the visible state and correlation ID. Do not include tokens, private keys, or one-time codes.
5. Use Storage Deliberately
For data-heavy work, open Storage before launch and confirm the bucket or project storage expected by the runtime.
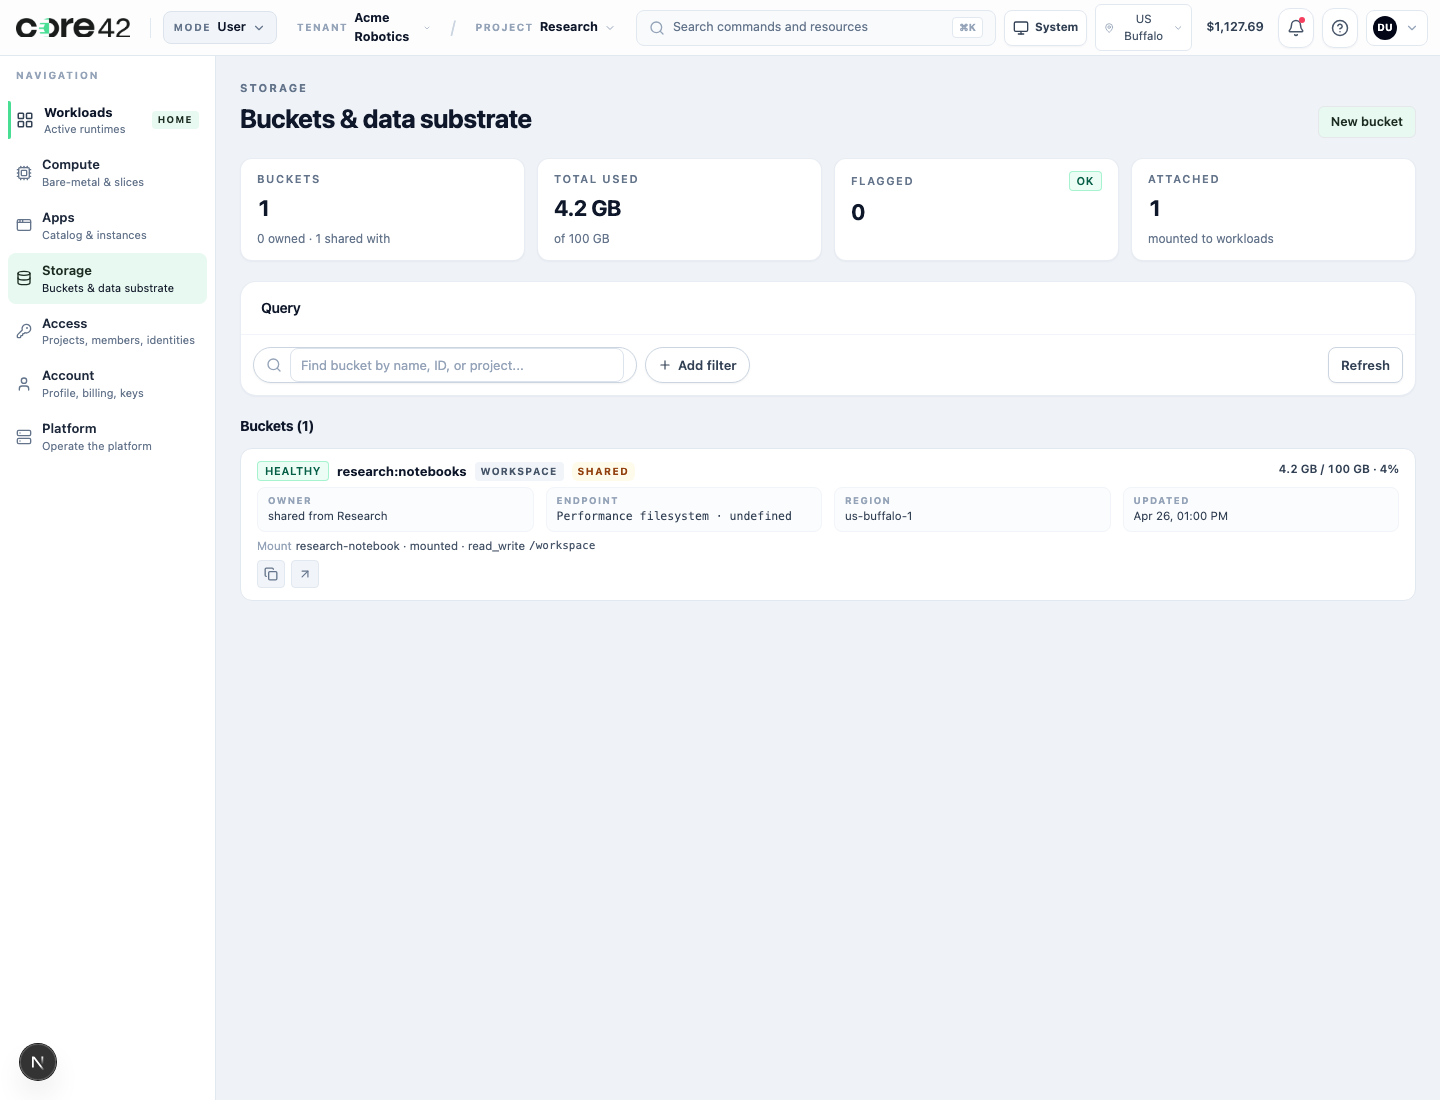
Keep data ownership and project context aligned. Do not mount shared data into the wrong project for convenience.
6. Release When Finished
Release test capacity when the walkthrough is complete. A successful release should stop billing for that runtime and move it to a released or cleanup-complete state.
If release needs action, use the visible retry or support path. Do not abandon the runtime in a failed cleanup state.
CLI Smoke Path
The CLI is useful for a quick state check after the UI walkthrough.
gpuaas --base-url https://api.<your-ai-cloud-domain> auth login

gpuaas auth whoami
gpuaas context show
gpuaas catalog list --output table
gpuaas allocations list --status active --output table
gpuaas billing balance
Replace the base URL with the endpoint supplied for your environment.
Normal user login opens the browser identity-provider flow. Use
gpuaas auth login --no-browser from a headless shell and copy the printed URL
into a browser that can reach the environment.
The CLI stores local session context under ~/.gpuaas-cli/config.json. Run
gpuaas auth logout after a shared-workstation walkthrough or when switching
between environments.
Success Criteria
The quickstart is successful when:
- the user can sign in;
- tenant and project context are correct;
- account security state is understandable;
- a runtime can be launched;
- the runtime becomes active;
- at least one connect action works;
- billing or usage state is visible;
- the runtime can be released.